


To make a pillowcase dress you will need:
- 12 inches of 1/4" wide elastic (not shown), cut in half (two 6-inch lengths)
- scissors
- sewing machine
- straight pins
- steam iron
- fabric cut as follows:
- two strips 2.5" wide the entire width of fabric on fold (2.5" x ~45") for straps OR 45" of extra wide double fold bias tape.
- 45" wide piece of fabric cut to the length of choice (see size table below)
- optional coordinating piece for trim at hem - 4" x 45"

See the cuts laid out below:

Step 1: Fold the dress inside out, and sew the raw edges together, making a square with open top and bottom.

Move the seam to the middle of the square, as shown below:

Then, fold the entire square in half.

So, you have to folds, folded together.

Press the edge down to make creases. You only need to press down about 8 inches or so. This makes it easier to find the middle later.

Now, take the scissors and cut an upside down "J" shape in the top edge, through all the folds of fabric. Discard those two pieces of fabric.

Unfold and now you have this:

Step two: Make straps using the two skinny lengths of fabric. We are essentially making extra wide double fold bias tape. Feel free to substitute if you have some on hand and want to save time.
With an iron, press down the short end.

Next start down one side of the strip and press in about 3/8." Repeat on the other side.

Then fold strip in half and press again, so that you have a double folded strip with an open edge.

This is what one strap looks like:

This is the strap next to a real piece of bias tape. Same concept.

Step Three: On the dress, fold over the top raw edge about 5/8" to make a casing. Press. Repeat on the other top raw edge.

Sew near the folded over edge, making a 1/2 inch casing.

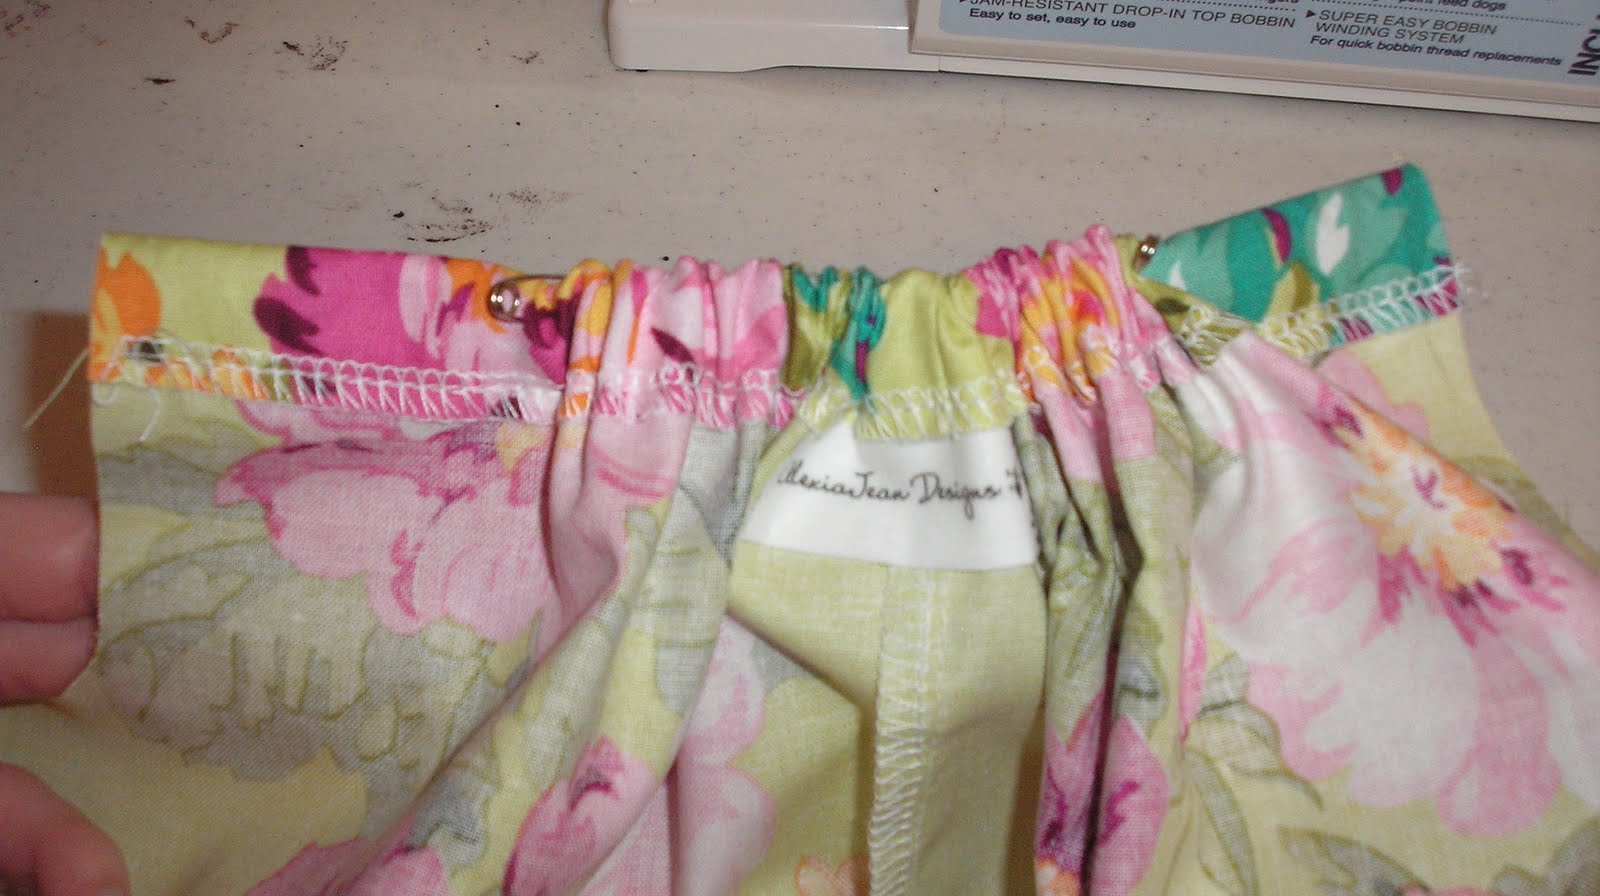
If you have a tag to attach, do it now, as your needle nears the middle seam on the back.

No take your 6-inch piece of 1/4" wide elastic and run it through the casing, using a safety pin to guide it through.


When you get to the end, put a safety pin through the entire casing and elastic about 2 inches in from the edge.

Continue pulling the elastic through, and pin the other end about 2 inches in.

So now you have this:
Repeat on the other side with the other piece of elastic.
Stitch the ends of the elastic in place very near the edge of the casing. Do this on all four elastic ends.

Here's your sewn down end. Do not take the safety pins out yet.

Now you have an inside-out dress with elastic necks. All that's left now is to attach the arm straps!

Find the creased middle of the under arm and the middle of your strap. Open up the strap and insert the dress up to the crease.

Fold the strap back over, and pin in place.

Now, starting from the end of the strap, sew close to the edge all the way down the strap, through the underarm area, and back out to the other end. Repeat for the other strap.


Here is how the seam should look on the outside:

And on the inside:

Note: Make sure you catch both the top and the bottom of the arm strap when sewing. It takes some practice, and precise pinning and pressing.
Now you can take the safety pins out.

Pull the elastic to distribute the neck evenly.

Last, finish the bottom edge of the dress. (In this one, I added a coordinating strip at the bottom after the fact.)

Finished! The arm straps go under the arms, and the elastic casings go around the neck. Dads dressing little girls can get it backwards easily, believe me :)

Pretty!


2 comments:
love this tutorial, most I have seen use ribbon through the neck and this sounds way better! I was looking for the size chart you mentioned for lengths but didn't see one.
I'm with Patty...can't find your size chart. Cute dress.
Post a Comment