In this case, the back hem of the shirt I was embroidering got caught up in the embroidery hoop. *Headslap* I had to cut a hunk out of the shirt to get it out of the hoop.

What to do? You make a dress out of the messed up Tshirt.

Ready to learn how? I promise it's easy! Here we go!
What you need for a child-size dress:
*One tshirt
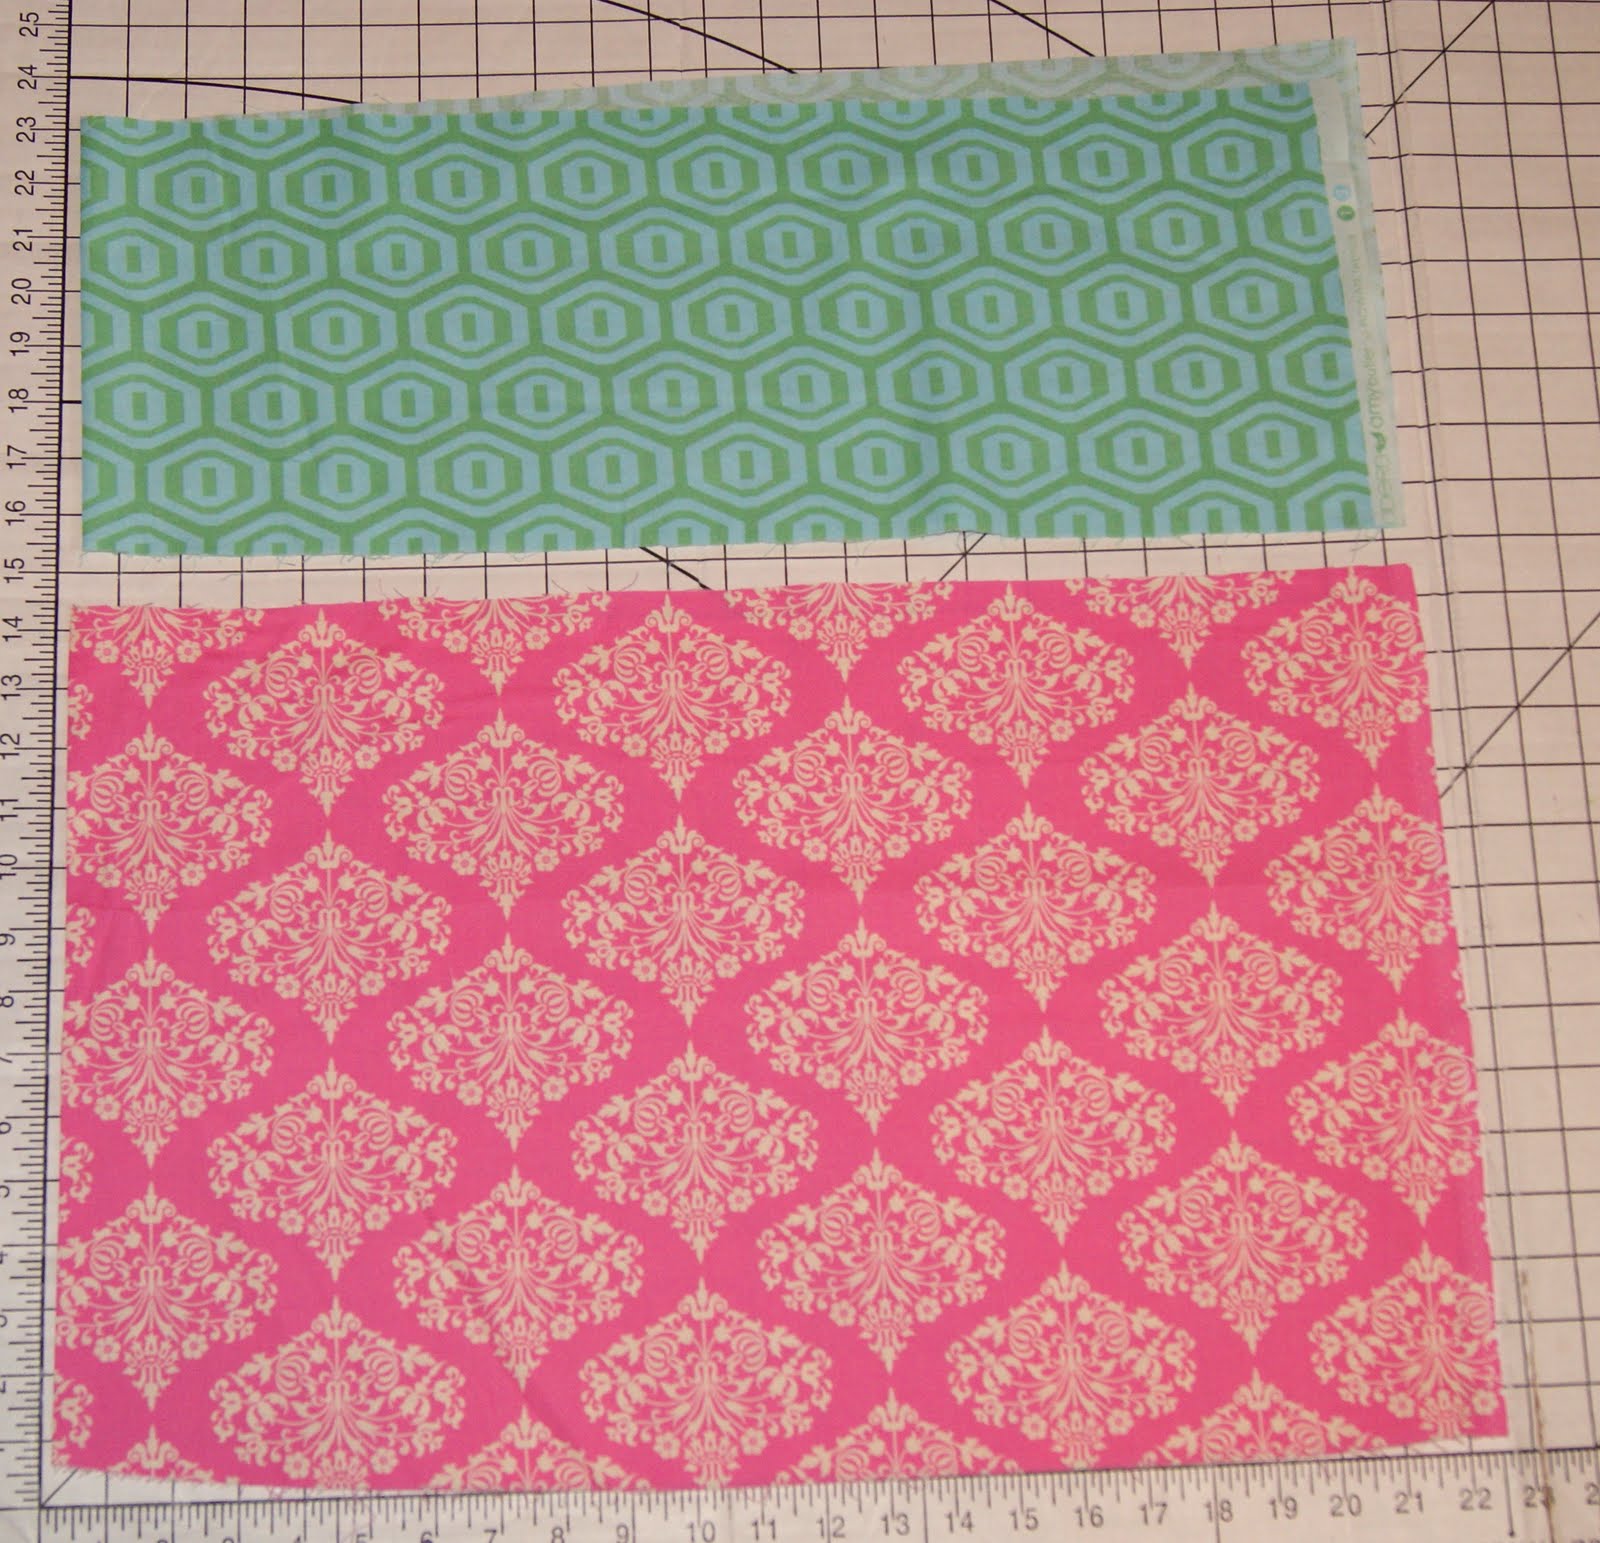
*Two coordinating fabrics (about 1/2 yard of the main one, and 1/3 yard of the other.)
*Sewing machine and notions
Optional Stuff:
*Serger
*Ruffle Foot
To start, cut the bottom off the shirt. On this one I had to go below the butterflies. Otherwise I would recommend cutting about two inches below the arm holes. That will give a nice empire waist look.

Next lay out your fabrics. Measure how long you want the skirt to be. This one is about 17 inches long. For the bottom band, cut a 4.5-inch side strip using the full width of the fabric. Make up the difference with the main fabric (plus one inch). This skirt is 13 after I trimmed up the edges.
Lay your main fabric down on your surface, and line up the bottom band raw edges, right sides together.


Sew raw egdes together. I'm using a serger, but of course you can use a regular sewing machine.

Next, open out the entire piece of fabric and press the new seam down. Then fold the piece in half, right sides together, and sew up the side, being sure to line up the bottom band with itself.

Now you have this: On the left is the seam you just finished, on the right is a fold. The top edge is still raw.

Now it's time to gather the skirt to fit the shirt. You can use a ruffler foot if you have one, or you can use gathering stitches to pull it up. For help with that check out this tutorial.

So now you have a chopped off tshirt and a gathered skirt.

Now take the leftover strip of coordinating fabric and fold it over longways. This one is about 2.5 inches wide. I would have liked if it was wider, like 3.5 to 4 inches. Sew raw edges together to make an inside-out tube. Use a very small seam allowance.

Leave a gap in the stitching about 4 inches long.

About one inch from the end, turn your fabric to a 45-degree angle, and sew to the fold. this makes a pretty end to your sash tie. Go back and do this on the other end as well.

Trim the seams and clip the corners of both ends. Then turn the tube right-side-out and press it flat. For help with that, click here. Sew the opening together very close to the edge. I didn't get a picture of that step.

Now you have a chopped off Tshirt, a gathered skirt, and a long sash.

Turn the shirt inside out and fit the raw edges together. Use pins liberally to keep everything in place. Adjust the ruffles or gathers to fit the width of the shirt.

Stitch on a 1/2 inch seam allowance. Make sure to put the non-stretchy fabric down on the machine's feed dogs.

Turn the dress right-side out. Pin the sash over the middle of the seam, centering it in the middle of the skirt. Stitch the sash close to the edge, stopping when you get to the sides/underarms. The sash will be attached across the front of the dress and free in the back.

Stitch the top edge in the same way.

This is what the side looks like. This is just under the sleeve of the shirt.

Hem the bottom and you are finished!

If you have a baggy shirt like this one, the sash helps to cinch it up in the back to make it more form-fitting.

Tips:
*You can adjust the measurements to make this dress for any size. In fact, this is very similar to my maxi dresses that you can see here.
*Using a more fitted tshirt and cutting the waistline a bit higher would make a more flattering shape. But we scrap-a-holics do what we can to reuse and recycle anything and everything!