Thursday, March 3, 2011

Matching shirt and purse

My daughter, who is three, noticed yesterday that her shirt matched her little purse so we took some fashion photos!


Tuesday, February 22, 2011

Fun with scraps and leftovers

I love a blank slate when I'm in my manic creative mode. A plain white tank top thrills me! My daughter received a pair of jeans at Christmas that were new-to-her, but were a size too small. But they had some cute flower embroidery and detail on the pockets that I wanted to use, so I chopped them off and made a skirt! I'm ready for spring so she can wear the outfit!


Receiving Blanket PJs

Now that the kids are getting older and the factory is closed (yes, I'm admitting it now..) I decided it was high time to clean out drawers and get those little flannel infant receiving blanets out of their rooms. You know the ones, the cute packages that are so fun to get and give at showers, that match the washcloths, onesies, and sockies so you get the whole pink and purple (or green and blue) collection. You know what I'm talking about.

But once the baby is bigger than a minute, they outgrow the receiving blankets and then you are left with a stack of square shaped flannel. What to do with it?

Well, if you're me, you cut them up and make pajama pants for your BIG kids!

I actually had this on my to-do list for over a year and HAD to get it done, or my oldest would be too big for them!


You do have to use two blankets per pair once the size is above about a 2, which is why the legs are mix-matched.


I had two of the same blanket for this pair, and put a pocket on the backs instead of putting tags to show where the back is.


I actually made them a little too big, which means maximum wear! Right now they have to roll them up -- or run while holding their pant legs up, quite amusing actually -- but they should get a year or two out of each pair!


After the trial run was approved by the populace I had some more blankets, so I made 4 more pairs!


So glad I finally got that off my list AND got rid of a huge pile of flannel blankets!


Repurpose, baby!

Thursday, February 10, 2011

Facebook Sale

I sure hope you're already a fan on Facebook, because I've got a HUGE sale going on right now! Find the Facebook tab in the sidebar and join up! The sale is for limited time only, so come get it while it's hot! There will also be a few Giveaways coming up soon!

Tuesday, January 18, 2011

Gap inspired Cardi-Wrap-Thing

Several months ago while shopping at the Gap outlet - because I rarely set foot in a regular store, but this was an outlet mall trip -- I saw this on the hanger.


My friend Jill tried it on and it looked super cute. When she took it off I opened it up and saw that it was a large rectangle of fabric with sleeves sewn on. SO super stinkin' easy to make! So I did.

Here's my version:


I used Bamboo Rayon/Cotton baby knit (just a fancy way to say Tshirt fabric made from bamboo) and it feels SO good on. Since it's a knit I didn't even finish the edges. I did hem up the sleeves a bit, but the lower edge and the neck are just a rough cut. I didn't want to ruin the nice drape of the fabric with a hem.

So whatchya think? Eh? Eh? EEEEHHHHH??

Saturday, January 15, 2011

Gadget Holder {Updated}

I made this for my sister for Christmas. I forgot to get a picture of the front, but she was sweet enough to send me one. Yeah!

It has a wood button/elastic loop closure. You can slide your hand under the yellow strap and carry it clutch-style.


It is roughly the size of a Kindle (which is a fun accident, because she told me AFTER I gave it to her she was getting a Kindle for Christmas! I was just making it to hold a journal.) and has a pocket that's just the right size for an iPhone. I did that on purpose.


It also has two inside pockets to hold other chargers, earbuds, cords, whatever. I love the way it turned out!

Friday, January 7, 2011

Headband Holder for your mama

Organization is a beautiful thing. Especially when it looks like this!


This week I've been on a cleaning and organizing kick, and today I tackled this:


When my husband opens this drawer, he cringes and closes it as fast as he can. I laugh and tell him I know exactly where everything is, and I like it that way.

So maybe I lie a little.

I went through that drawer (in fact, the entire bathroom with it's three cabinets, five drawers, and one large linen closet) and now it looks like this:


And both trash cans are overflowing with expired and unused products. Feels good! Yay me!

I ran into a problem when I needed a place for my hard headbands. I've been wanting to make a smooshy fancy holder dealie and sketched up a design for something like a boudoir pillow and then quickly abandoned that idea at the thought of putting gussets on something that would grace the inside of a bathroom drawer. Then I turned to the good ole blogosphere and found this idea. I decided to use fabric and hot glue instead of paper and Mod Podge.

So here is all you need to make this cutie:


-- Large [empty] oatmeal container
-- fabric - 19 x 15" piece
-- batting - any kind will do. I used high loft and doubled it for more squish.
-- hot glue gun
-- large decorative button

Cut the batting to the size you need for your container. My piece was 34" long and 9.5 wide and I wrapped it around the can twice. Apply hot glue and start gluing and wrapping the batting around the container. You don't need to pull it too tight as you wrap, because you want it to be nice and smooshy.
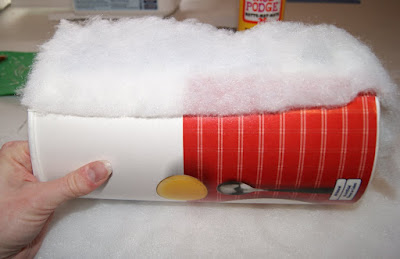

I used a LOT of glue. For the batting it ended up being quite unnecessary, and really you only need to use one strip of glue around each edge (around the top and bottom of the can).


Here is my double-wrapped batting covered oatmeal can.


Now start wrapping the fabric around. Let about three inches of fabric hang over the bottom edge of the can, and let the other inch or so lay over the top (lid side).


Wrap the fabric, using a strip of glue around the edges. Pull it taut as you wrap, but not too tight. When you get to the end, fold the raw edge under and glue down. That way no raw edges of fabric are exposed. Leave the ends open where they hang over the top and bottom of the can.


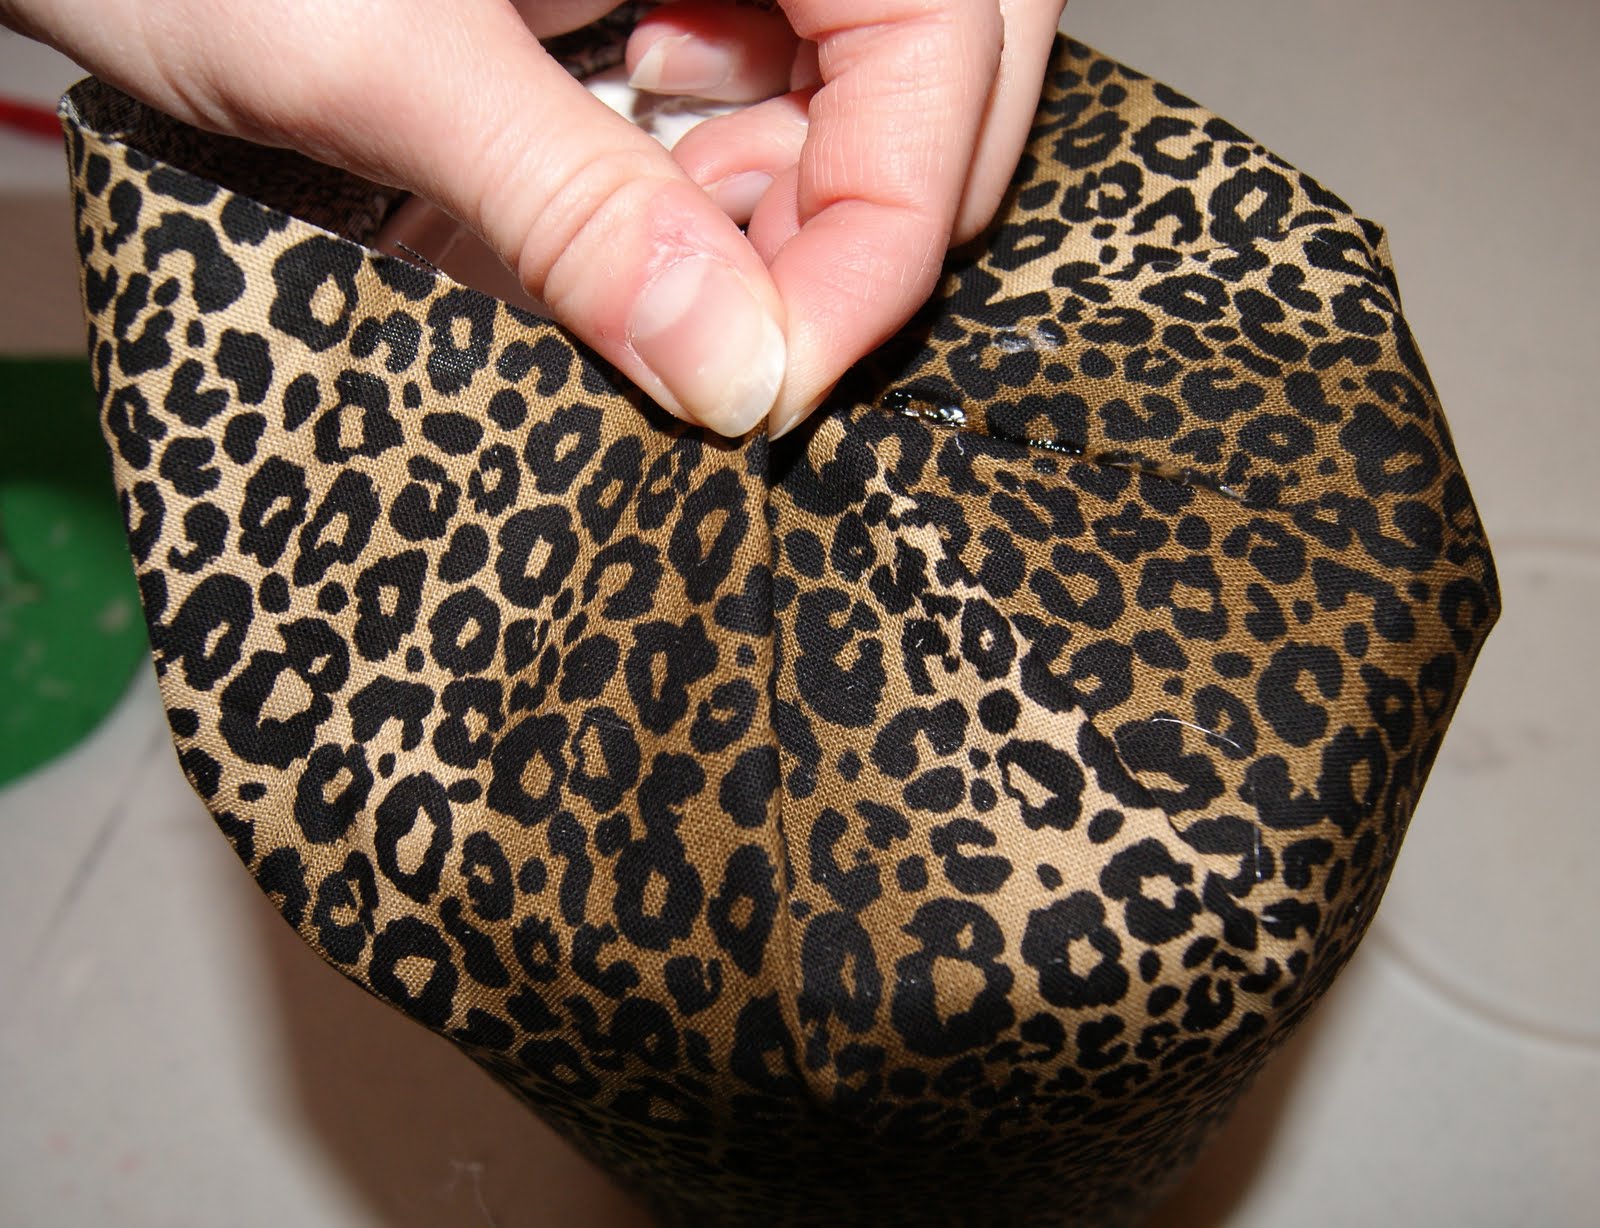
Now, start tucking the ends into the can and glue down.


Keep tucking and gluing until you get it all inside.


Here's the inside of the can. It's not super cute, and if you wanted to use the inside for storage, you could mod podge some cute paper or fabric over the raw edges. I'm not planning on using mine for that, so I skipped that idea.


If not, put the lid on and you're good!


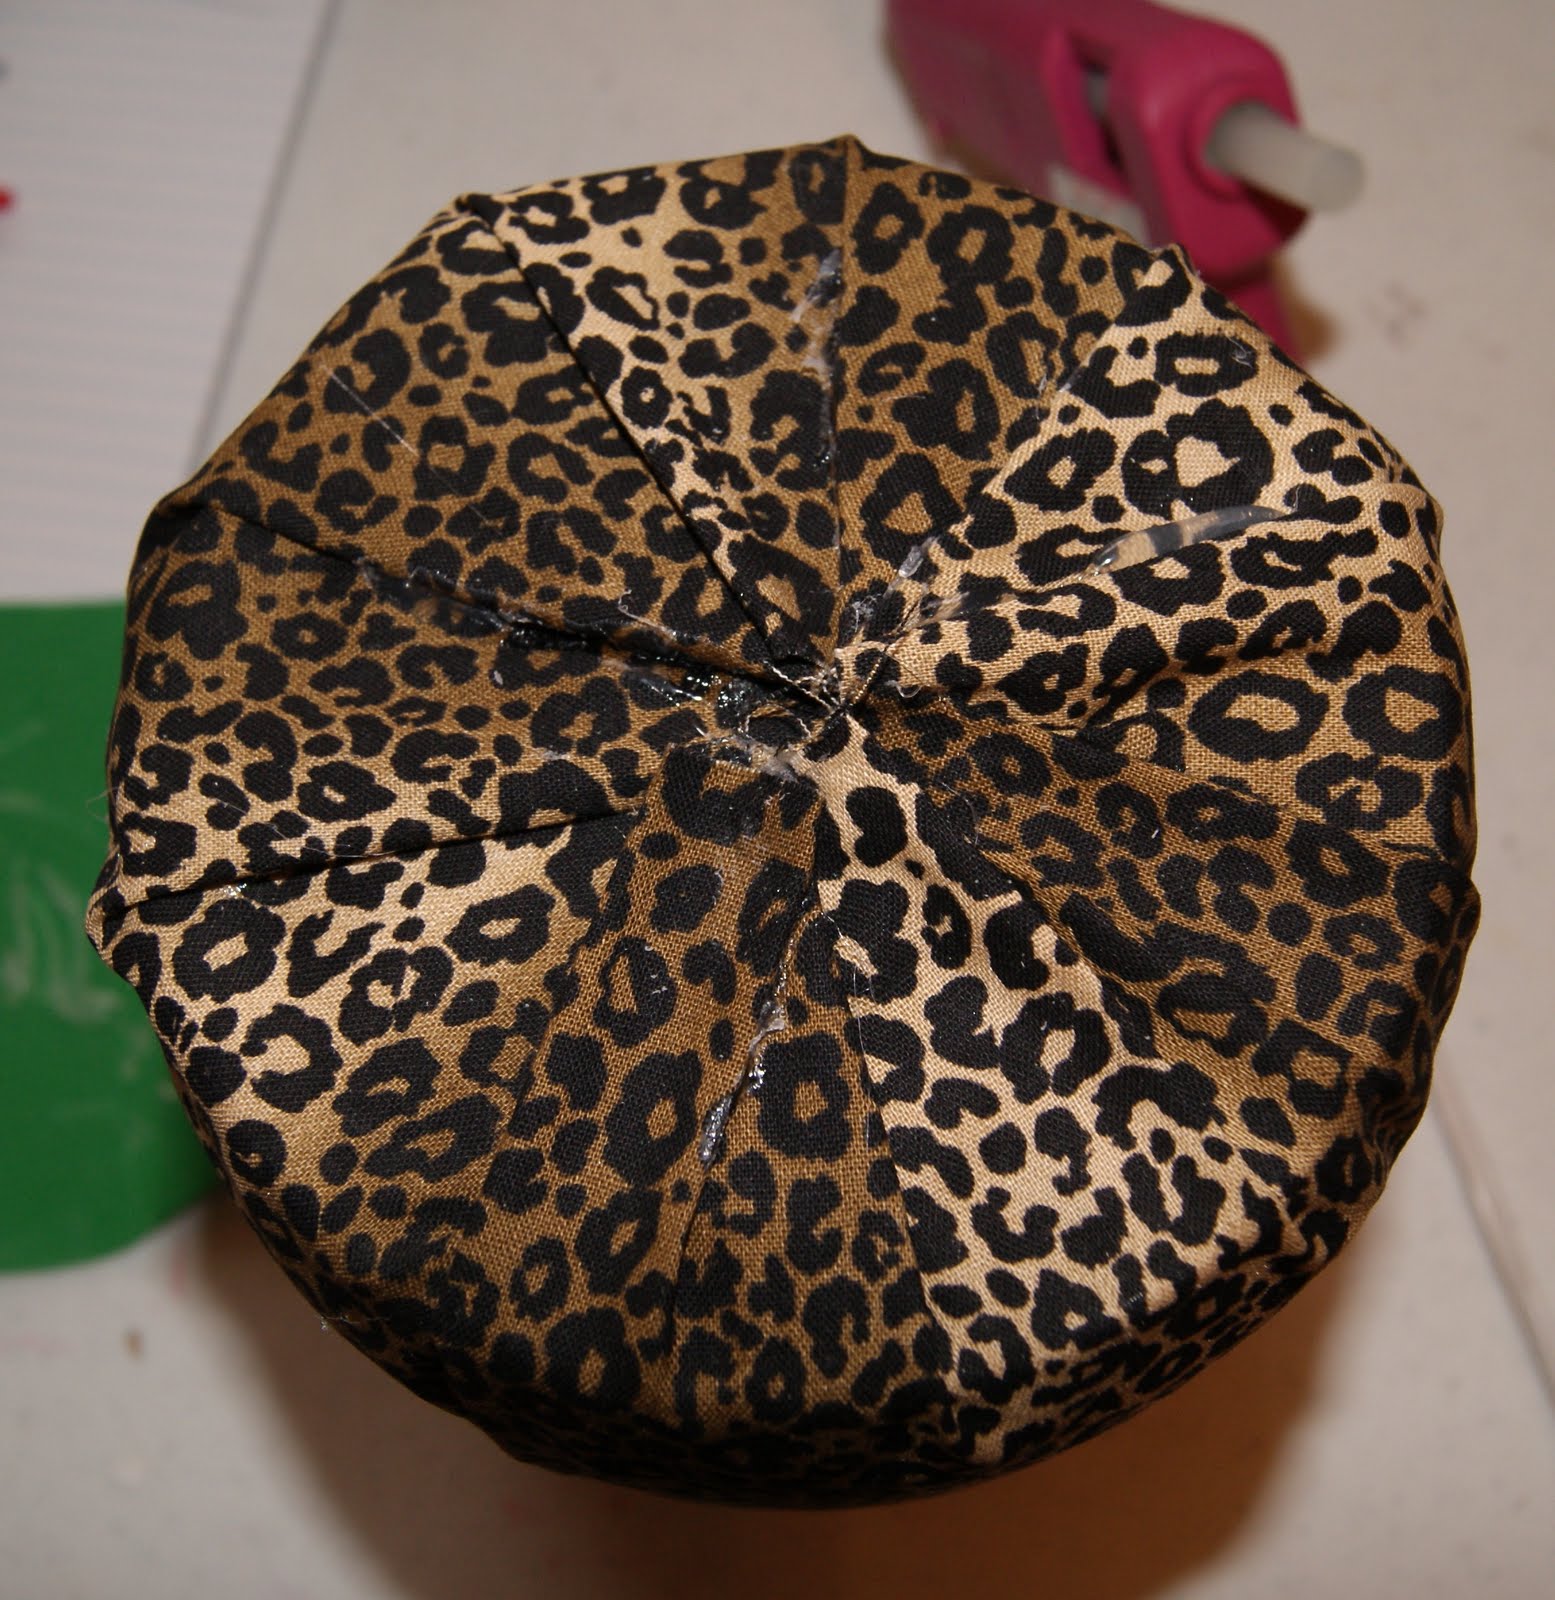
Noe for the bottom, use the same tucking and gluing technique as above. Be liberal with the hot glue.


Keep going until you get it all glued down. Notice I was a little too liberal with my glue and it oozed out in a few places. Don't do that.


Glue the button on to cover up the icky stuff in the middle, and voila! Mama's new headband holder!


I LOVE how cute my hair candy looks on it. Meow!


So, let's review.

Before:


After:


Pretty:
Related Posts Plugin for WordPress, Blogger...