Monday, January 3, 2011

Super Simple Party Favor Bag

I'm always searching for a way to use up scraps and leftovers, so here's a cute and fun way!


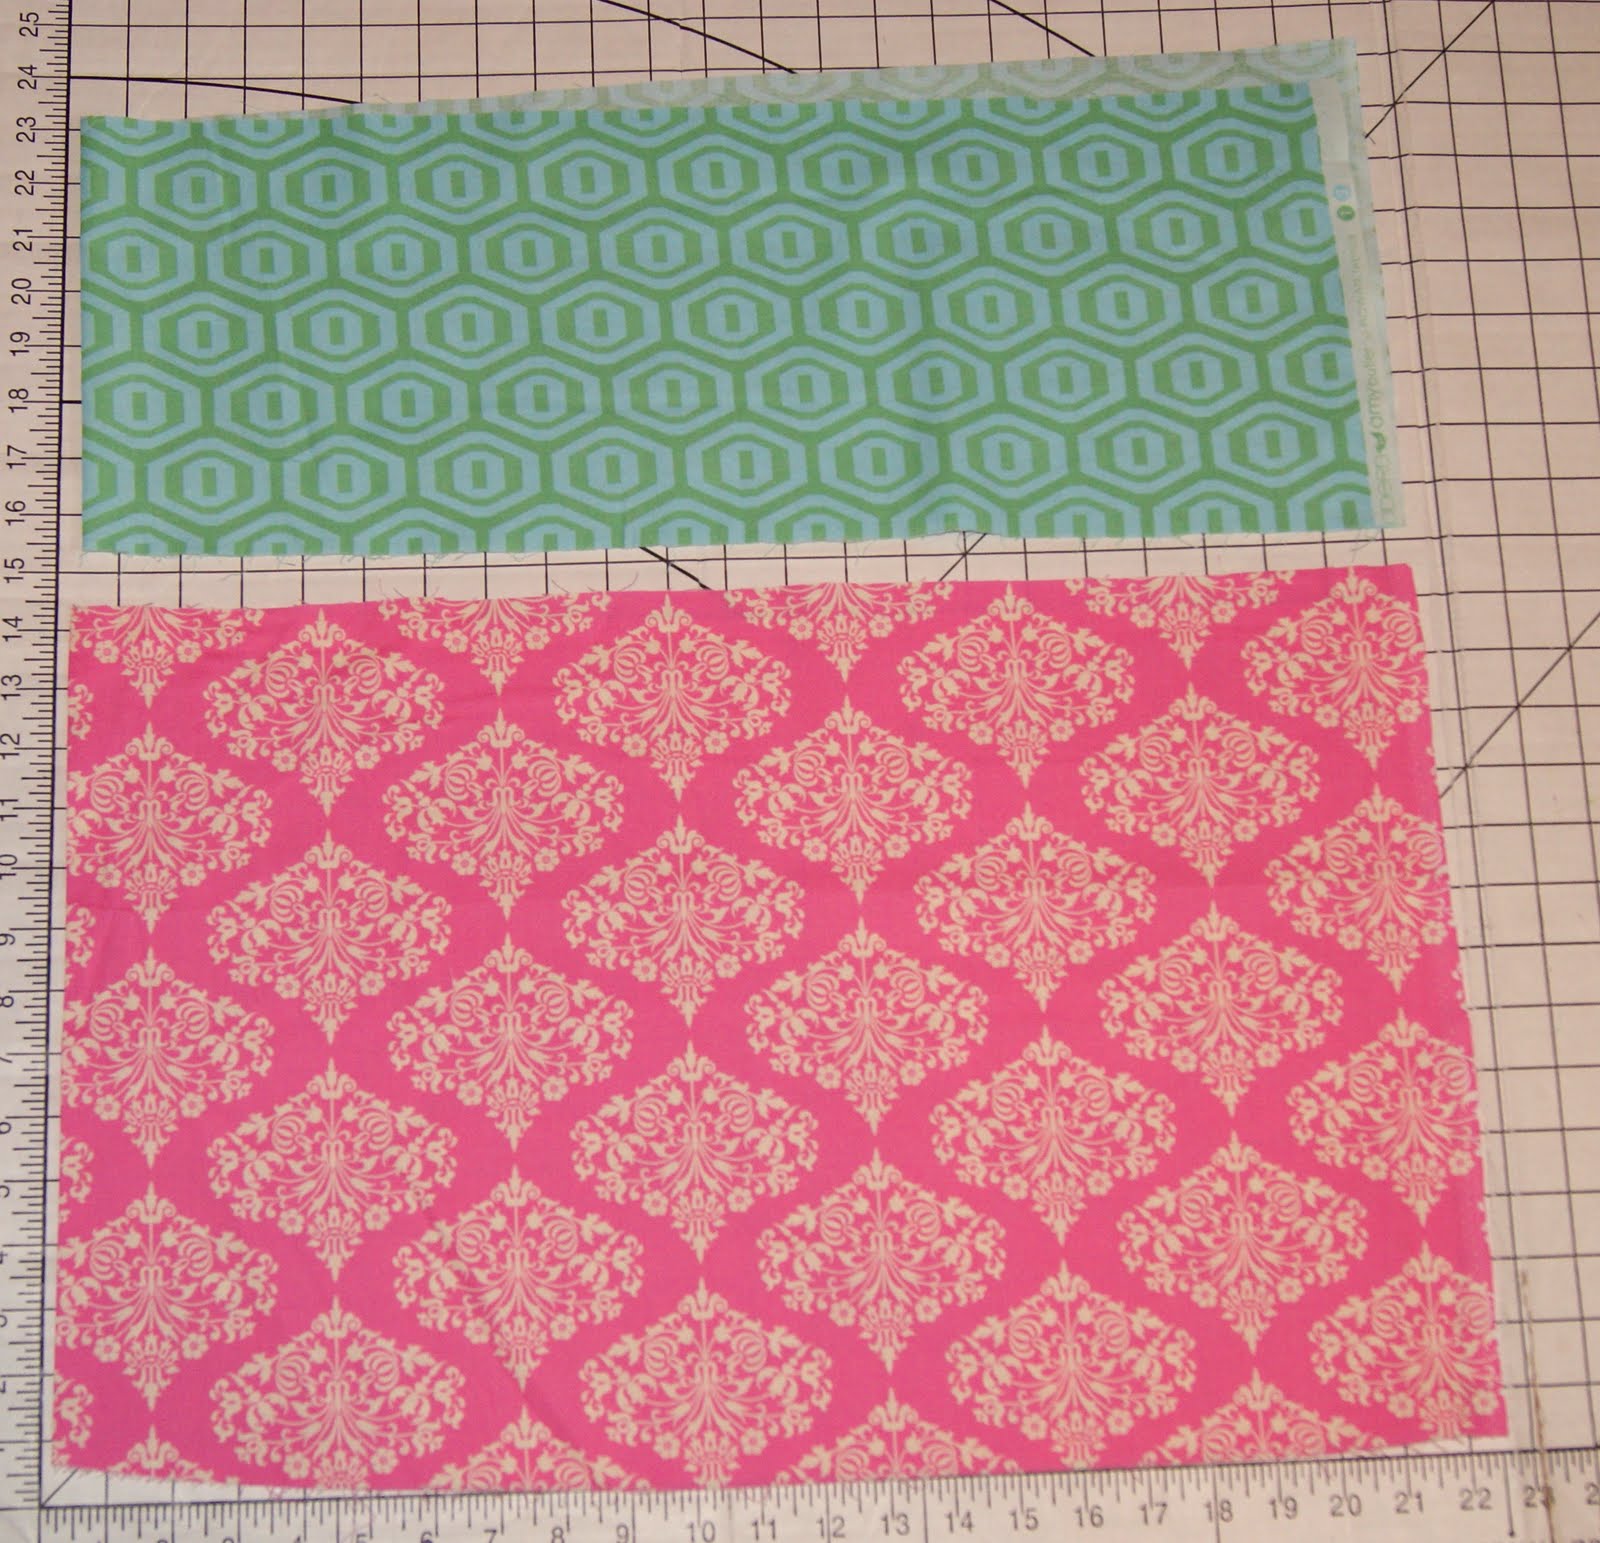
I made these bags for my daughter's 3rd birthday party, just big enough to hold some princess wands and bead necklaces for the girls, and some rocket balls and army men for the boys. And, of course since this is me, they are completely and totally reversible! AND, they take 30 minutes to make. 45 if you're a beginner. I promise!


Ready to make one? You totally can!

All you need is:
- two 18" x 8" cuts of coordinating fabric
- 15 inches of nylon webbing
- scissors
- sewing machine
- straight pins
- iron

note: I used scraps.. which means the straps on my bags varied from 12.5" to 18.5" and they all look fab, so perfection isn't necessary.

Step 1: Gather your materials.


Fold the first piece of fabric over, right sides together, so the fold is at the bottom and the raw edges line up. Press a crease into the bottom. This makes it easier to center the gusset later.


Now, sew up the edges, starting from the fold and sewing about 1/2" from the raw edges. Do this on both sides of the fabric.


So that you have this. The fold is at the top of the picture, and the raw open edges are at the bottom (so the laying bag is upside down in the picture)


Clip the corners off.


Next, to make the gusset, open out your bag, and with one finger in the corner, spread your hands and fingers out to form a triangle. Try to line the seam up with the creased fold and pinch them together. Hopefully the photo shows this better.


(This is how your hand looks inside the bag)


Here is where you pinch the triangle together.


Now, sew a seam across the triangle, setting the point on about the 1 1/4" or 3cm line on your machine's guide plate.


Repeat for the other corner and you have this:

Notice how my left side is horrible crooked. That is because I didn't line up the seam with the crease when folding. I could (should) have gone back and redone it, but these are party favors, and like I said before, perfection isn't necessary!
Clip the seam allowances off the triangles.


Turn the first bag right side out, and see your pretty gusseted bag! Notice at the bottom how the seam and the crease don't line up? The bottom won't be exactly square because of that. I really should have fixed that. Take that as a "what not to do" lesson.


Now do the same thing for your other piece of fabric. Go ahead, go back up to the top and follow the steps again if you need to. I'll wait for you right here.

Ok, now that you have two bags. Turn one right side out and leave one inside out, like shown.


Take the one that's inside out and insert your webbing strap into it. Then line up the raw edge of the strap with the seam on one side of the bag and pin it down. Be sure to center the strap over the seam. Repeat for the other side seam.


Next, insert your other bag into the first one. They should have their right sides together, with the strap in between. Line up the seams and pin both sides.


Now, insert the open edge of the bag over the arm of your machine, and starting about two inches before the side seam, sew around the edges, with about 3/4" seam allowance.


Stop about two inches after the second side strap/seam area and backstitch/reinforce the end of the seam. This is how we are going to turn the bag out.


Turn the bag right side out. You have this when you get it all untangled:


Now decide which side you want inside (but since they are completely reversible, it doesn't matter much) and stuff it inside. Press the corners all the way open with your fingers or a safety pin. If this bag wasn't so small, I would recommend pressing the top edges flat, but it's not necessary.


Insert the open end onto the arm of your machine, and starting on one strap, sew about 1/4" in from the edge.


When you get to the opening, make sure it lines up with the rest of the edges and sew it closed. Use your free hand to guide the fabric and make sure the fabric stays pulled all the way out. Continue sewing all the way around until you meet the thread where you started.


Done!


And you have a super cute, really basic party favor bag! Or a little purse for a sassy toddler. Or a holder for army men and crayons.


Now go make a few more!


And don't forget the boys!


Questions, comments? Something not make sense? Comment or email me at alexiajeandesigns at yahoo dot com.

Wednesday, December 22, 2010

Christmas Dresses

I am in love with this fabric from Michael Miller's Christmas collection! It perfectly captures the colors and patterns that I like for Christmas-- not too dorky and not too formal. I made as many reverse knot dresses as I could and squeezed every inch out of the fabric! Carly ended up with one mess-up, which worked out beautifully for our family pictures. I also made a few boy ties to match, and they were a hit too, as usual.


...And one custom pillowcase dress and pigtail bows!

Minky Scarves

Last winter, I used some scraps of minky to make three brown scarves. One was for myself, and two were for a door prize for my Mops group. Then I decided I loved my brown scarf, so much that I made myself a white one, a camel one, and a black and white damask one.

So this winter when I started wearing my minkies, and getting compliments, and an order for one from a friend, it finally crossed my mind that I should sell them. Duh! So here are a few picture of what I have made. I still have more white and brown fabric, if anyone would like to order one! $15.


Thursday, November 11, 2010

TShirt Dress Tutorial

So, you know, things happen sometimes. You screw up an order, and have to redo it. But what to do with the messed up leftover?


In this case, the back hem of the shirt I was embroidering got caught up in the embroidery hoop. *Headslap* I had to cut a hunk out of the shirt to get it out of the hoop.


What to do? You make a dress out of the messed up Tshirt.


Ready to learn how? I promise it's easy! Here we go!

What you need for a child-size dress:

*One tshirt
*Two coordinating fabrics (about 1/2 yard of the main one, and 1/3 yard of the other.)
*Sewing machine and notions

Optional Stuff:
*Serger
*Ruffle Foot

To start, cut the bottom off the shirt. On this one I had to go below the butterflies. Otherwise I would recommend cutting about two inches below the arm holes. That will give a nice empire waist look.


Next lay out your fabrics. Measure how long you want the skirt to be. This one is about 17 inches long. For the bottom band, cut a 4.5-inch side strip using the full width of the fabric. Make up the difference with the main fabric (plus one inch). This skirt is 13 after I trimmed up the edges.


Lay your main fabric down on your surface, and line up the bottom band raw edges, right sides together.


Sew raw egdes together. I'm using a serger, but of course you can use a regular sewing machine.


Next, open out the entire piece of fabric and press the new seam down. Then fold the piece in half, right sides together, and sew up the side, being sure to line up the bottom band with itself.


Now you have this: On the left is the seam you just finished, on the right is a fold. The top edge is still raw.


Now it's time to gather the skirt to fit the shirt. You can use a ruffler foot if you have one, or you can use gathering stitches to pull it up. For help with that check out this tutorial.


So now you have a chopped off tshirt and a gathered skirt.


Now take the leftover strip of coordinating fabric and fold it over longways. This one is about 2.5 inches wide. I would have liked if it was wider, like 3.5 to 4 inches. Sew raw edges together to make an inside-out tube. Use a very small seam allowance.


Leave a gap in the stitching about 4 inches long.


About one inch from the end, turn your fabric to a 45-degree angle, and sew to the fold. this makes a pretty end to your sash tie. Go back and do this on the other end as well.


Trim the seams and clip the corners of both ends. Then turn the tube right-side-out and press it flat. For help with that, click here. Sew the opening together very close to the edge. I didn't get a picture of that step.


Now you have a chopped off Tshirt, a gathered skirt, and a long sash.


Turn the shirt inside out and fit the raw edges together. Use pins liberally to keep everything in place. Adjust the ruffles or gathers to fit the width of the shirt.


Stitch on a 1/2 inch seam allowance. Make sure to put the non-stretchy fabric down on the machine's feed dogs.


Turn the dress right-side out. Pin the sash over the middle of the seam, centering it in the middle of the skirt. Stitch the sash close to the edge, stopping when you get to the sides/underarms. The sash will be attached across the front of the dress and free in the back.


Stitch the top edge in the same way.


This is what the side looks like. This is just under the sleeve of the shirt.


Hem the bottom and you are finished!


If you have a baggy shirt like this one, the sash helps to cinch it up in the back to make it more form-fitting.


Tips:

*You can adjust the measurements to make this dress for any size. In fact, this is very similar to my maxi dresses that you can see here.

*Using a more fitted tshirt and cutting the waistline a bit higher would make a more flattering shape. But we scrap-a-holics do what we can to reuse and recycle anything and everything!

Monday, November 1, 2010

Winner!

Congrats to the winner of the Zippy Pouch! Comment #10 - Megan (almpk)


Her comment:


Thank you so much to everyone who entered and gave me feedback on my tutorial! Next tutorial will be the Tshirt Maxi Dress! Wallet coming soon too. ;-)
Related Posts Plugin for WordPress, Blogger...