Tuesday, October 19, 2010

I just added a little section to your right called Tutorials... I've got a couple up, with one new one coming in the next few days.

Also, when that new tutorial goes up, I'm going to post a giveaway! So get ready!

Monday, October 18, 2010

Weekend Crafty Fun-ness

When we have slow weekends -- meaning no birthday parties, outings, or other reasons to leave the house for lots of hours -- I love to get "me" time in my sewing room. If I don't have a pressing business deadline, the freedom I feel with a few hours with my sewing machine and stash of goodies is amazing! Special thanks to my amazing hubby who lets me use that time to create.

This weekend was one of those.. and I ended it with four items I am pretty proud of!

I'll start with the least impressive.. at least from the pictures.

Since I don't have an adult-sized mannequin, my bathroom door has to suffice for this one.. anyway. It's a maxi dress made from a fitted t-shirt from Old Navy, and stretchy jersey knit fabric. Cute, stylish, AND comfortable! Forgive me for not modeling... but I promise it is even cuter on!


It's actually very simple to make. I cut off the shirt just under my bust, gathered up 60 inches of skirt fabric, and sewed it on. For the belty thing, I cute the remaining part of the tshirt into one LONG strip and wrpped it around a bunch of times, tied it in a bow, and voila! Done. You can do this in smaller sizes for little girls too. Anyone want a tutorial for this?


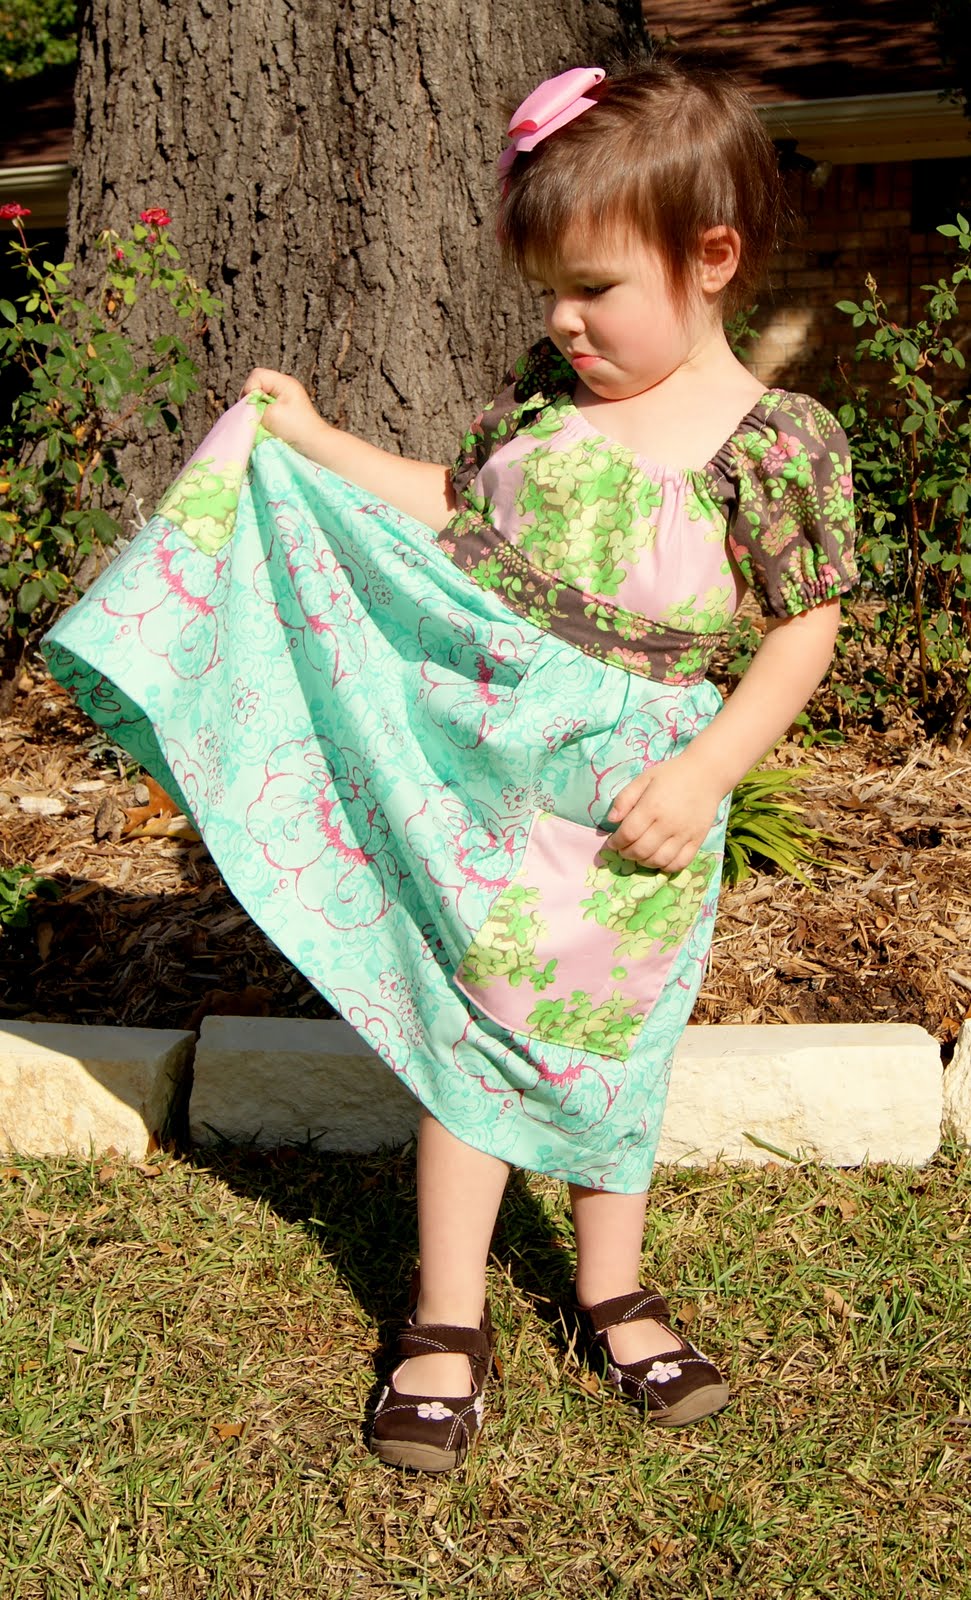
Next, I tried a new pattern for a peasant dress. I used a pattern for this one, and there are lots of things I will change to make it my own. I added the pockets for my little collector, and she LOVES this dress.


Little sash in the back make it more fitted and less sack-dress-y.


Showing off her new pretty dress.. notice the pocket on the left.. It's already full of "little thlings."



I also threw together this peasant dress using a different pattern. Love how simple it is, and cute too! I added the pocket on this one, again, for my little collector. It's a snowflake fabric with accents of penguins and snowmen. Normaly, I'm not a character kind of person, but these were pretty nondescript and whimsical, so I went with it. She likes her "blue dress with penguins."

btw, you can really tell in the above picture that my mannequin has seen its better days. It was actually brown at one time, but then my kids happened, and it lost a leg. My cousin welded it back on and painted it almond for me. It still sits a little wonky, but it is whole again! The hem on the dress is not uneven, just the picture!

And now... my weekend masterpiece! I made myself a jacket out of flocked matte jersey.. which was a mistake I made when ordering fabric online. I was expecting STRETCHY material.. I got stretchy material.. perfect for making tailored pieces with a little stretch.. like this:


I used an exact pattern for this, with only a few deviations (aka messups) but thankfully they are all on the inside and no one is the wiser!


And no, it's not for sale, nor will I make any more, but you are welcome to borrow my pattern! ha!


Fun times!

Saturday, October 16, 2010

Saturday Afternoon Scrappy Wallet

So, I made a few little zipper pouches this week, and realized my big thick leather Fossil wallet wouldn't fit inside. I SO wanted to carry one with me this week, but until I had a smaller or more flexible place to put my essentials it would have to wait. So, I searched tutorials, gathered ideas, and made this:


I am loving the colors! I used the basic instructions from this tutorial, then added some extras that I needed - more card spaces and a larger space for bills.


IF I make any more of these, I will change a few other processes to make it even better, but... I have a new wallet! Woo!

I would be willing to do a tutorial of this wallet, if there is any interest. I just need to hear from you!

Friday, October 15, 2010

Bold and Bright Crib Bedding

I just delivered this today.....


Delicious, huh? Oh, and it's FOR SALE! At Sparkles in Flint.

Tween Room


This project.... I worked on in stages for about 8 months. I finally got some pictures of it! Dreadful, disgraceful pictures taken with my iPhone, but pictures nonetheless. Others may have heard me refer to this project as "The Minky Room" or even "The biggest mistake I've ever made," or even "The project from HADES!!!!!" But the end result is great, huh?

*Just pretend, for one minute, that the photos are decent.*

The photo above is floor-to-ceiling reversible curtains with huge black tassel trim.. altogether weighing 22 pounds! Below is the view from the inside of the curtains into the room. In the background is the left bed with green/zebra curtains.


The curtains under the loft bed.. also reversible and quite heavy!


The reverse side of the loft bed curtains.. makes a cozy little homework nook/cave!


By far the most unique (and difficult!) thing in the room.. a valance for an arch-top window. *Pardon the blinding sunlight*


And a straight version of the same valance..


I was pleasantly surprised at how good it looked. All I saw were giant mounds of orange, lime, zebra, and pink minky all over my office for months, and never got to see the end product all at once. I'm pretty proud!

Oh yes, and don't EVER ask me to do this again with Minky. Ever. At all.

Sunday, October 10, 2010

Zippy Pouch


I made this, just for fun, and to prove to myself that I could do it. I followed the instructions on this tutorial, but made it bigger, and just love how it turned out! I'm going to change the design up a bit and make it "mine" and make some more of these!

Sunday, September 5, 2010

Duvet Cover, Bed Skirt and Shams

I finally got around to making my daughter's big girl bedding this weekend. I'm pretty happy with the way it turned out. I need to fluff the bed a bit more with pillows and frufrus but for the basics, I'm pleased!

The duvet cover is done with Amy Butler's Love fabrics. I stuffed an old comforter in it, and as you can see at the bottom I'm still working out the kinks to get it to fall straight.


For the back of the duvet I used a queen size flat sheet, cheap and easy.


The shams have a small ruffle around the edges. I did a 12-stitch pleat, mostly by hand since my pleater is on the fritz. again.


For the backs of the shame I used scraps, which were not quite long enough to overlap, thus the ribbon ties. The pattern goes different directions, but eh, it's the back.


The bedskirt has one double box pleat on each side. I used an old sheet for the decking.


Closeup of the pleat. It started as a simple box pleat but I wanted it to kick out more so I folded it an extra time under there, which did the trick nicely.


I'm pleased with the outcome and surprised at how easy it was! Really, it was easy. So easy I thought about writing a tutorial for it. Is anyone interested?
Related Posts Plugin for WordPress, Blogger...